Easy Outdoor Spring Wreath
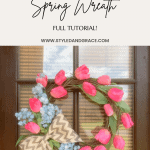
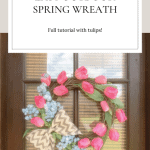
Ever wanted to make a DIY outdoor wreath for your front door? Well, you’re in luck because I have a super easy outdoor spring wreath to share! With a few items and about 30 minutes, you can have a cute wreath on your front door.
What you’ll need
1. Cut the the flower bunches into separate stems
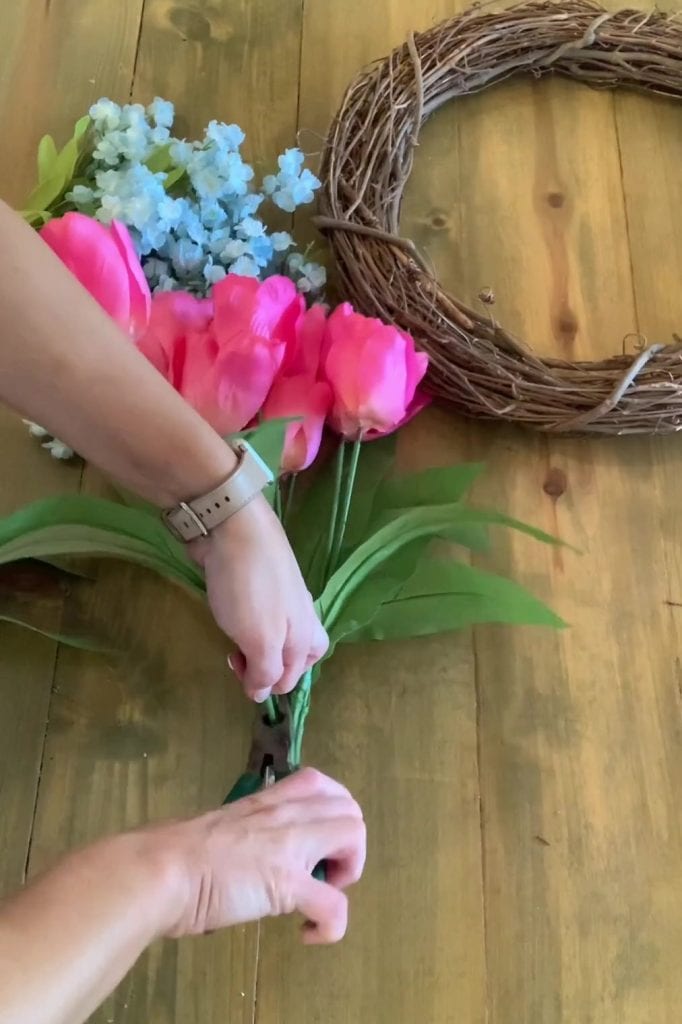
Take your wire cutters and cut apart the bunch of tulips to separate it into individual stems. Cut as close as you can to the base of each stem where it meets the thicker main stem that holds the bunch together.
Once you separate your tulip stems, repeat the process for the bunch of dainty blue flowers. At the end, you should have 15-16 individual tulip stems and 5-6 individual blue stems.

2. Insert the tulips
- Place your grapevine wreath flat on the table in front of you.
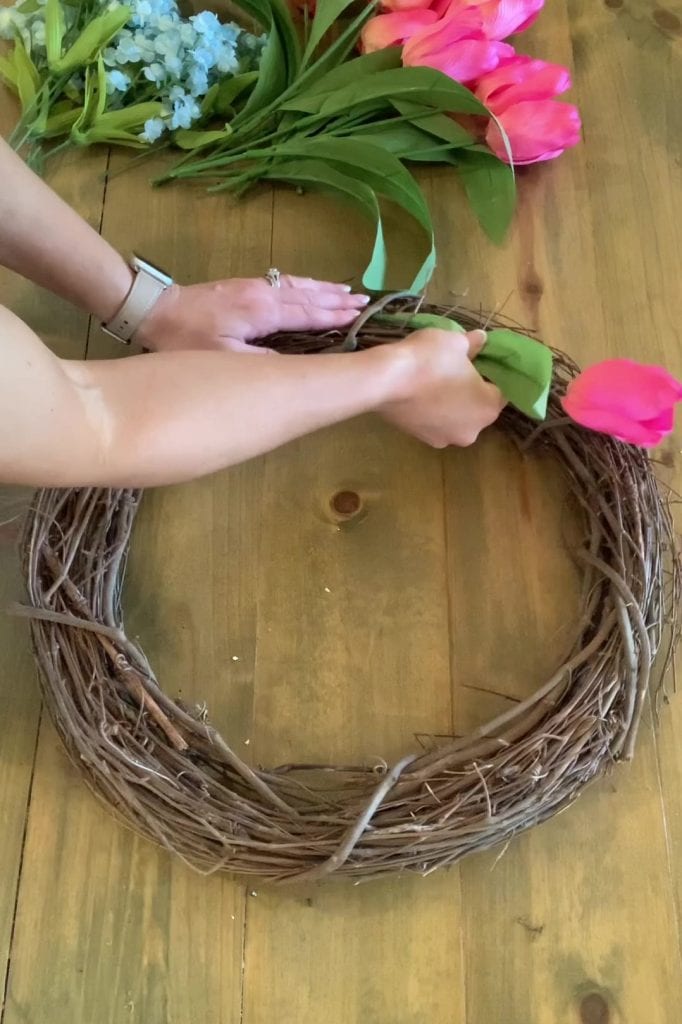
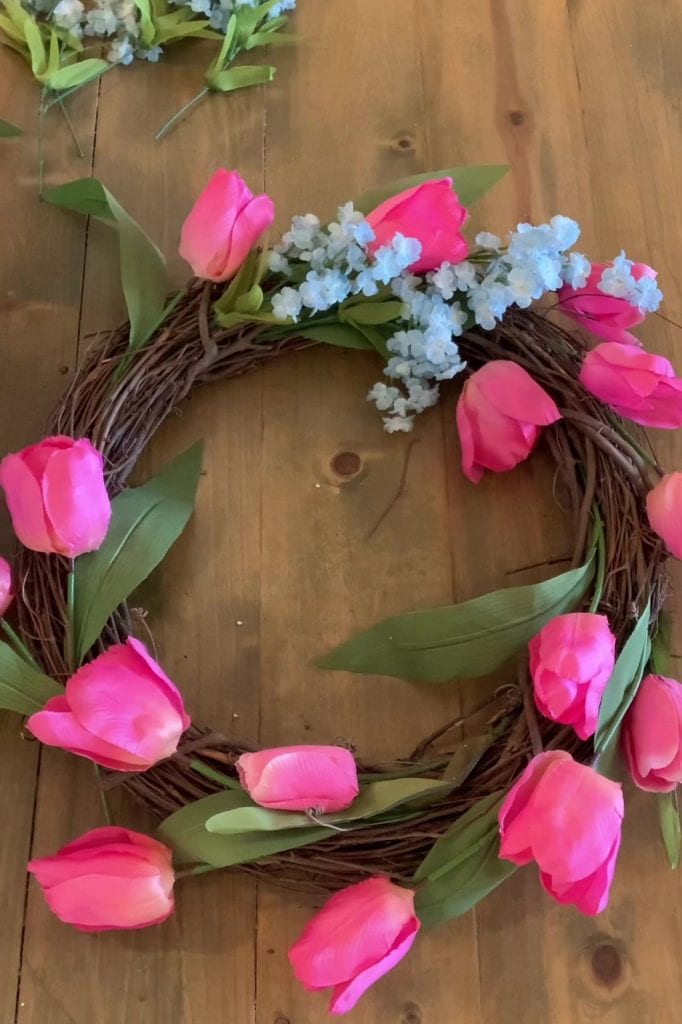
- Take 1 tulip stem and with the flower facing the right, start at the top of the grapevine wreath and slide and stem of the tulip in amongst the grapevine until the tulip sits above the grapevine and the stem is mostly inserted into the wreath.
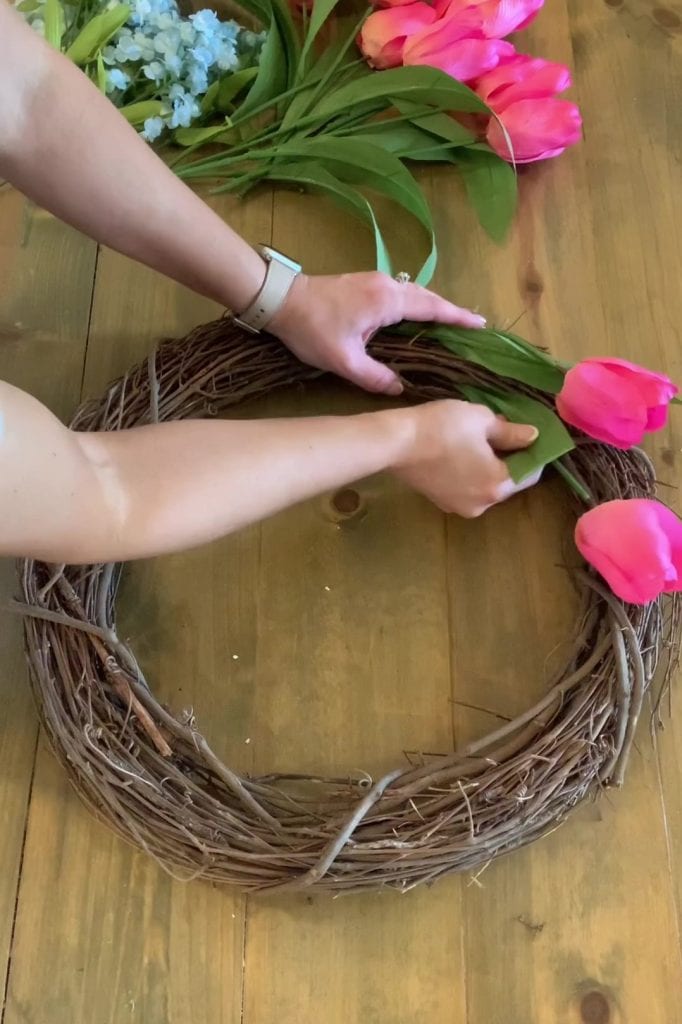
- Take another tulip stem and slide into the grapevine wreath in the same direction a little to the right of the first one and slightly below.
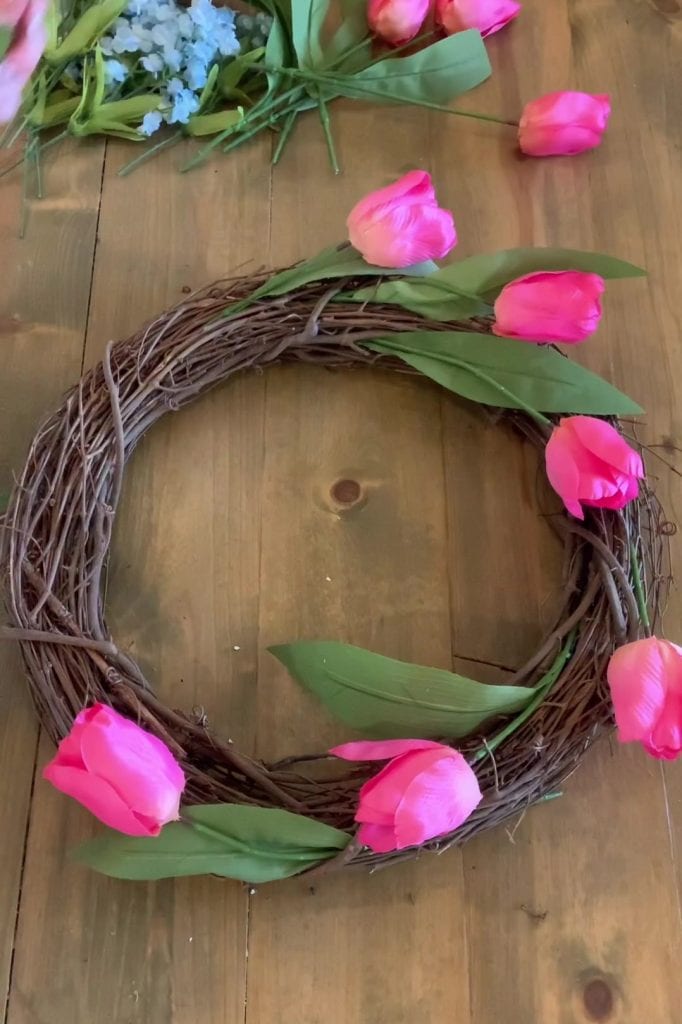
- Continue inserting tulip stems in an alternating pattern around the entire grapevine wreath until the entire wreath has alternating tulips.
- Feel free to take some out and adjust its placement accordingly to fill in where needed.
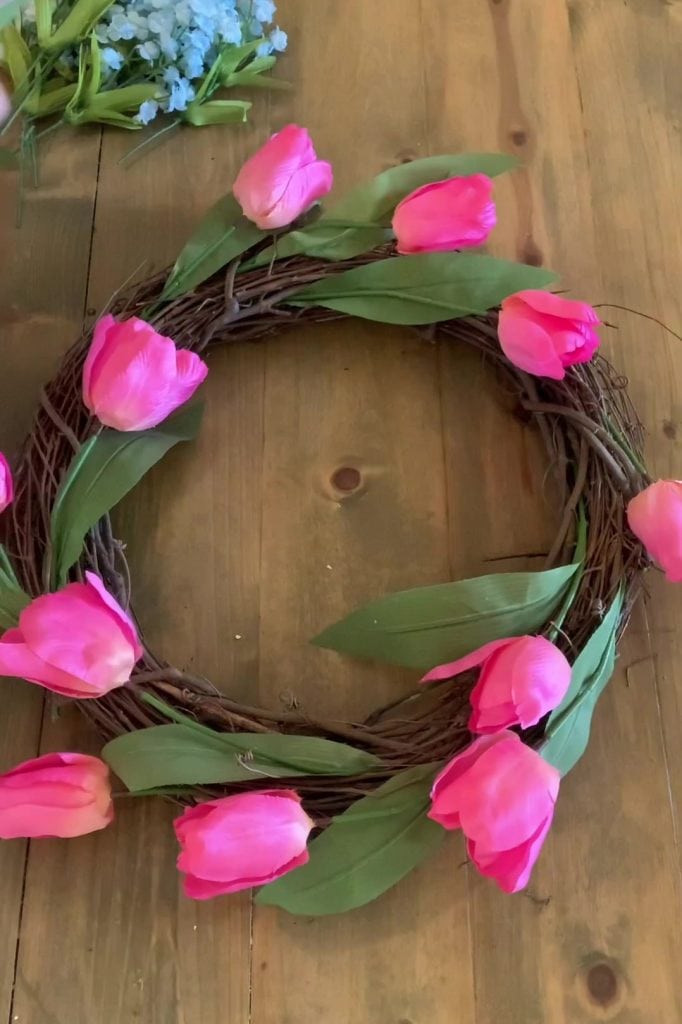
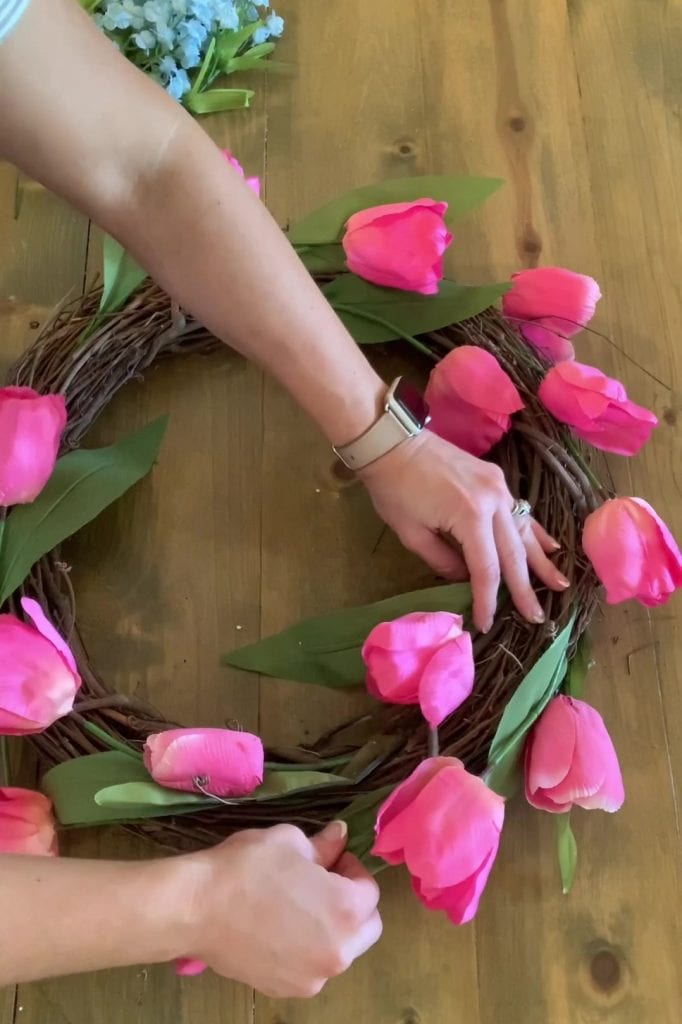
3. Insert the dainty blue flower stems
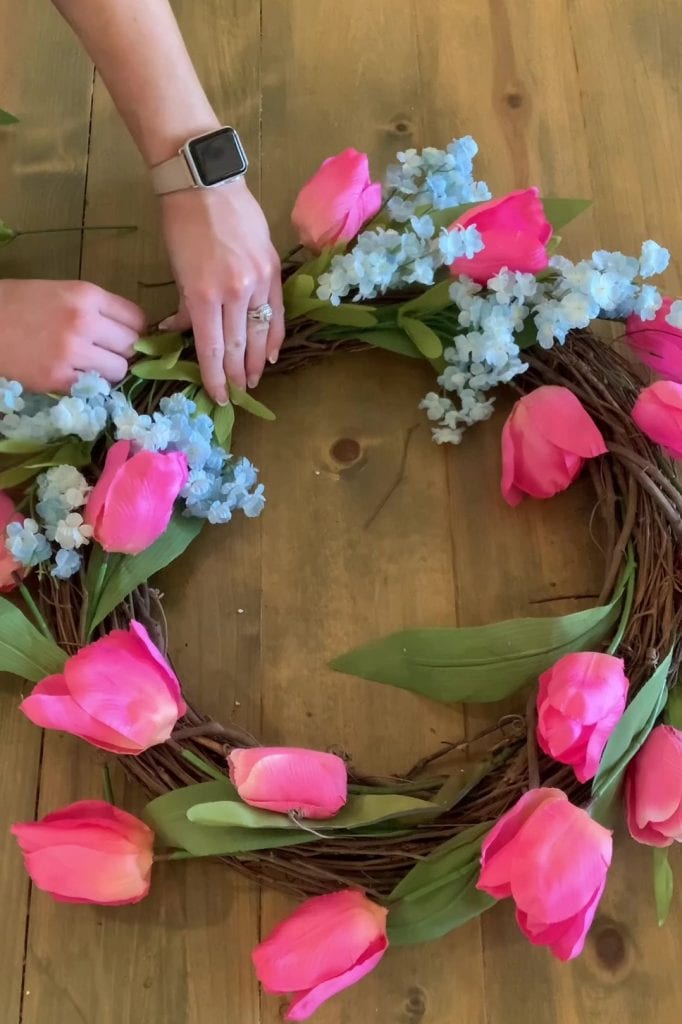
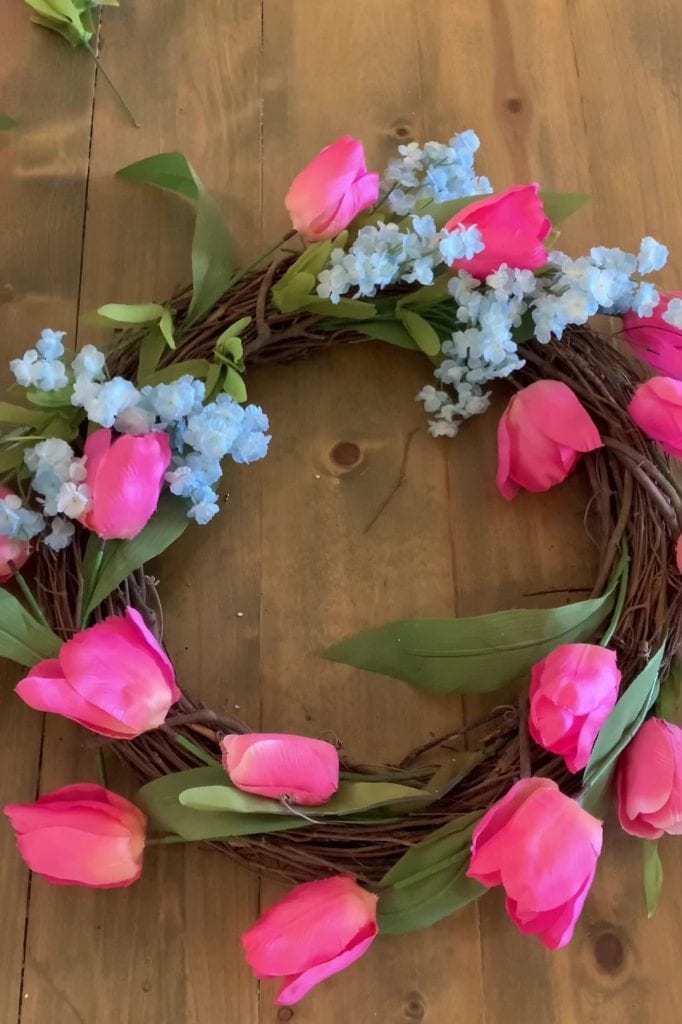
Once you have all the tulips placed in the grapevine wreath, it is time to insert the dainty blue flowers. On the left-hand side of the wreath:
- With the flowers facing up, slide the stem down into the grapevine wreath about 3/4 of the way up the side of the wreath.
- Place another stem with flowers up, next to it where the flowers fall about halfway up the first one.
- Insert 2 more stems below the first two where the flowers fill the space below.
- Leave a small space below that set of flowers, and insert 2-3 more stems with flowers facing down (in opposite direction) on the left side of the wreath.
- Continue to play with placement until you like it. It is up to you and do what looks good to you!
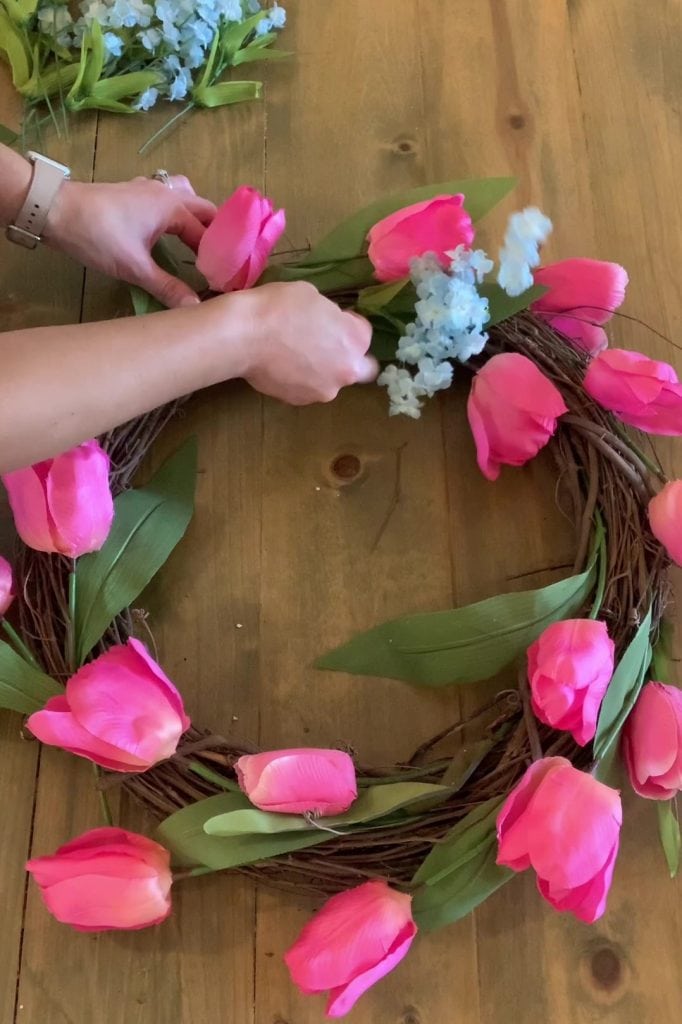
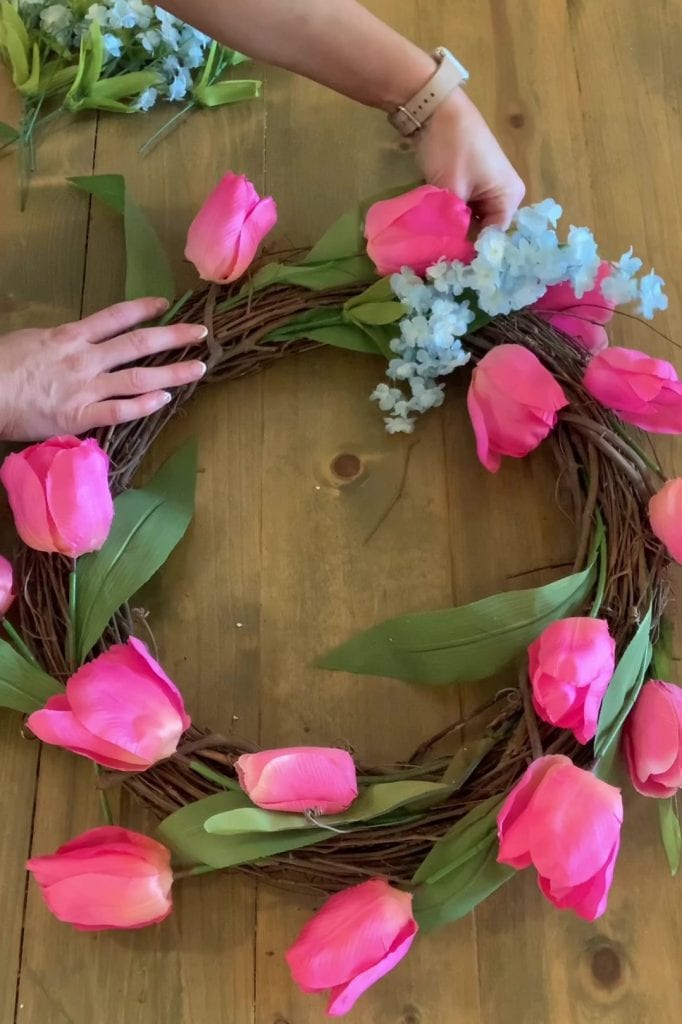
4. Make the bow
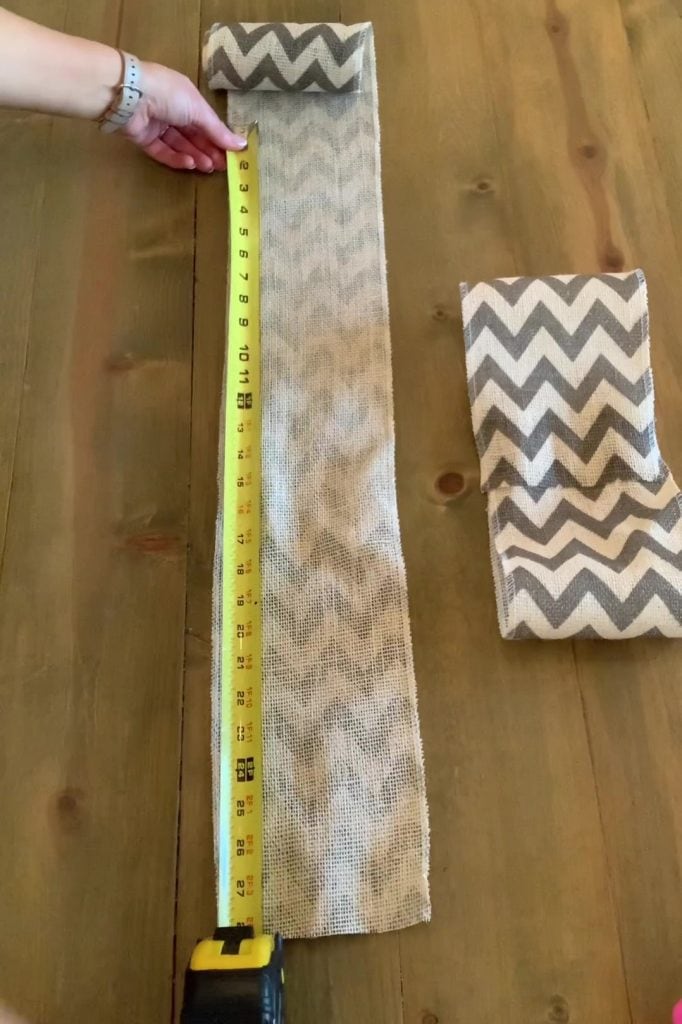
Turn on your glue gun and unroll the ribbon with the Chevron facing down on the table. Measure and cut three pieces of ribbon in the following lengths:
- 30″ long
- 28″ long
- 1″ – 1.5″ wide

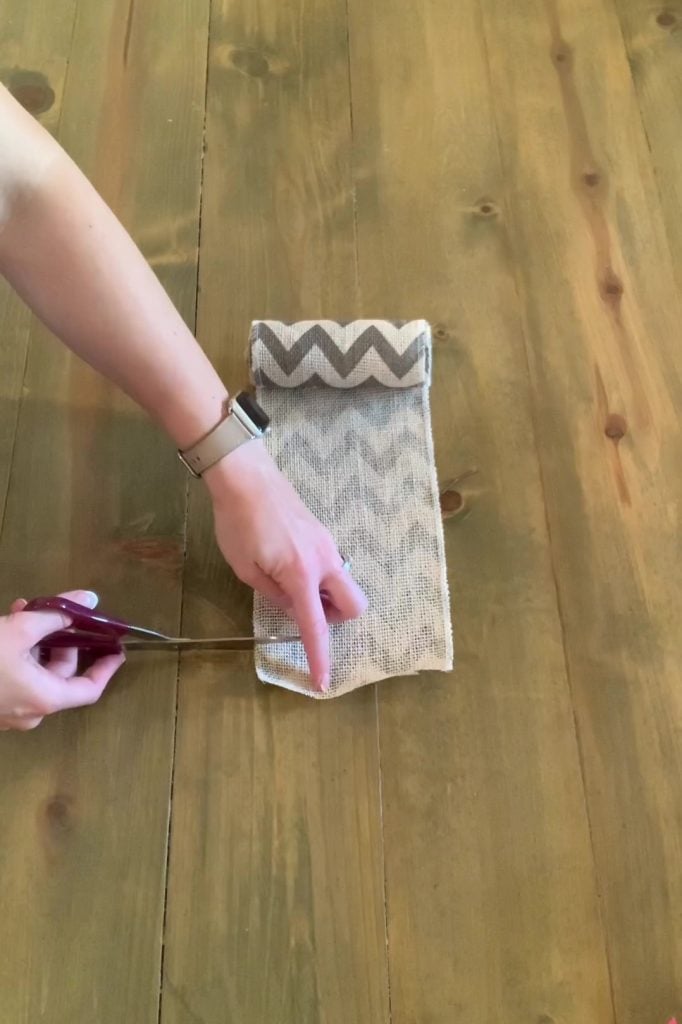
To assemble the bow:
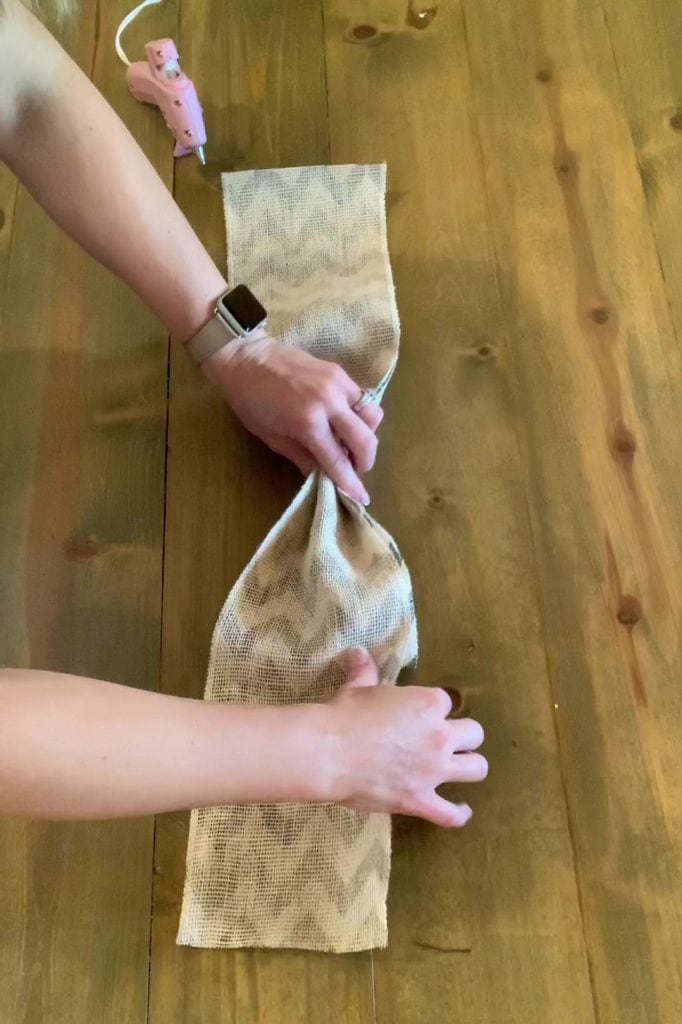
- Take the 30″ long piece of ribbon and fold the right end of the piece inward where the end is laying just past the middle of the piece.
- Fold the left end of the piece over and lay on top of the right side where the end is an inch over the end of the right piece.
- Lay the 28″ long piece with chevron side down directly over your folded piece of ribbon.
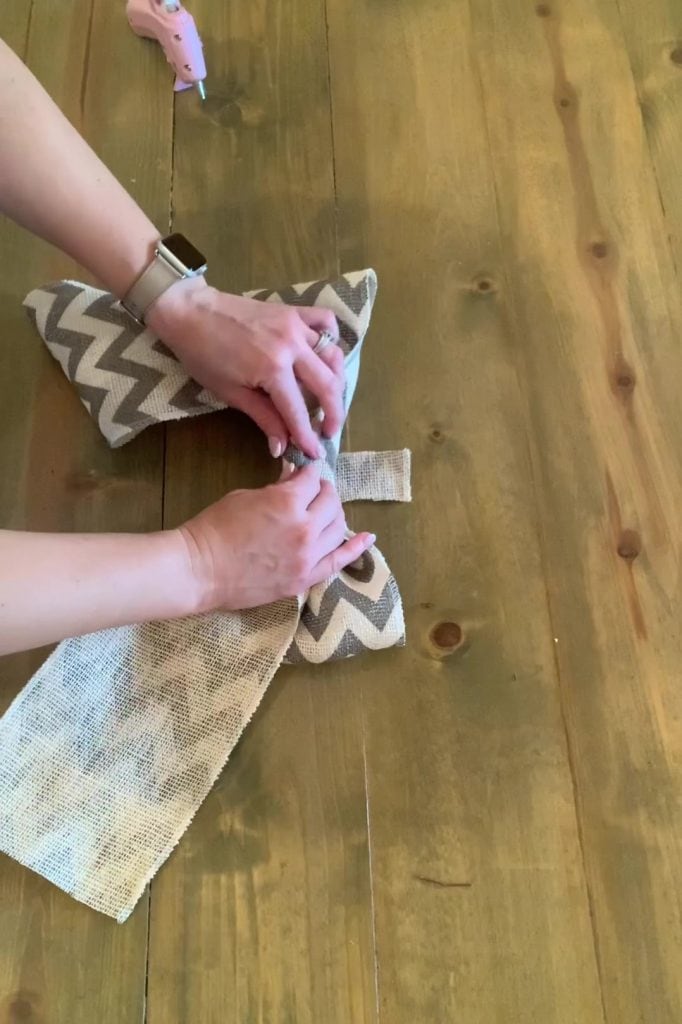
- Pinch together the folded piece and top piece in the center. After pinching together, adjust the long hanging pieces to where they fall downward instead of straight out to the sides. Adjust as you see fit and to your liking.
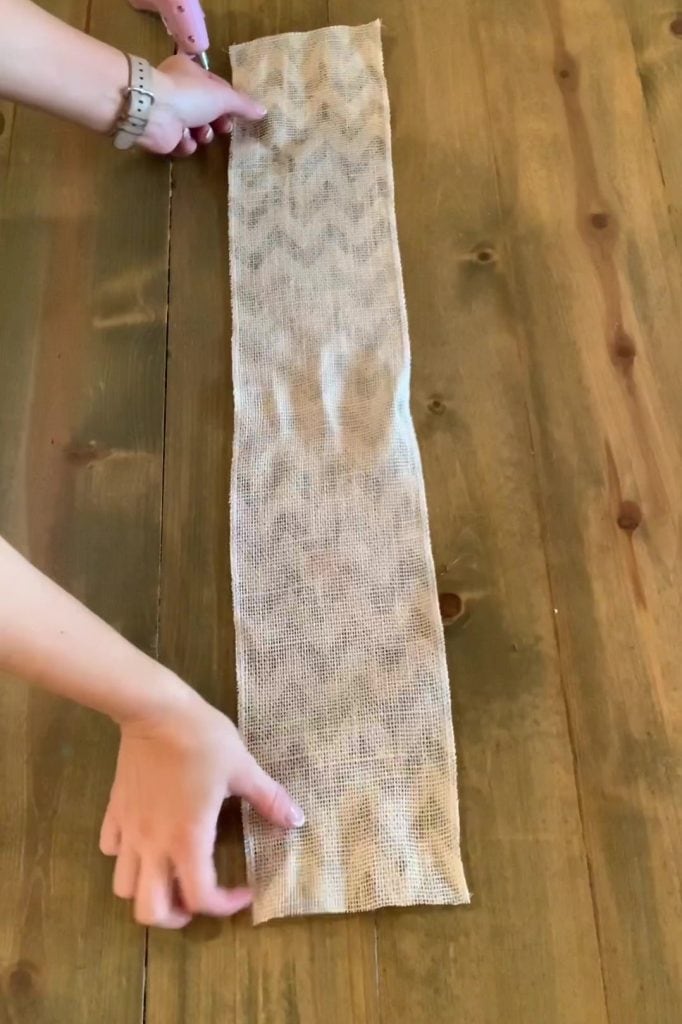
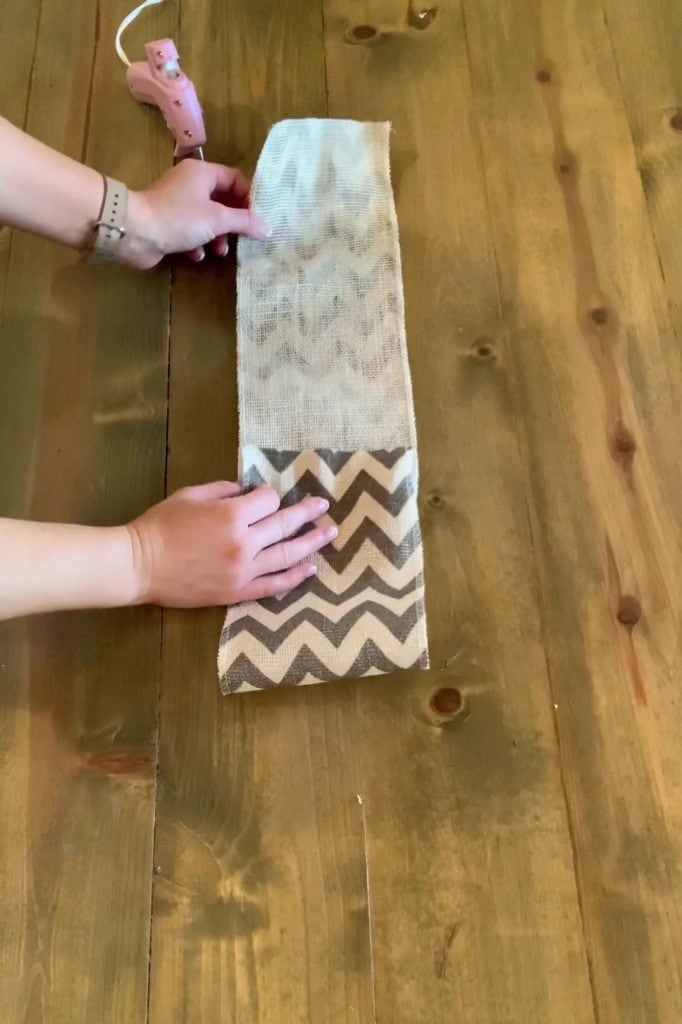
- Lay the 1″ inch piece chevron side down on the table.
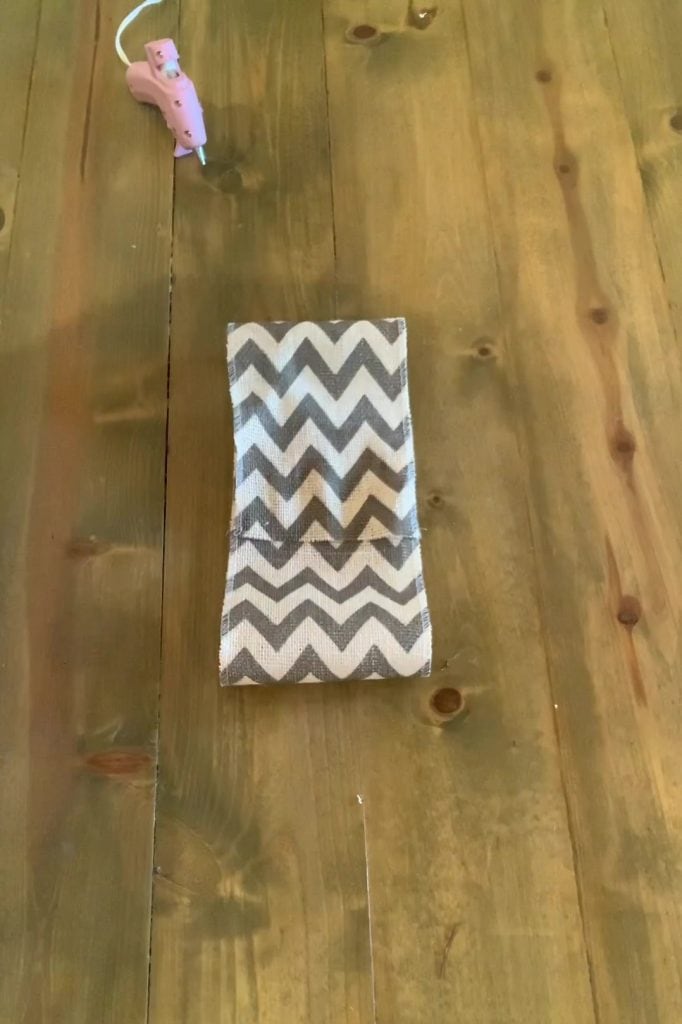
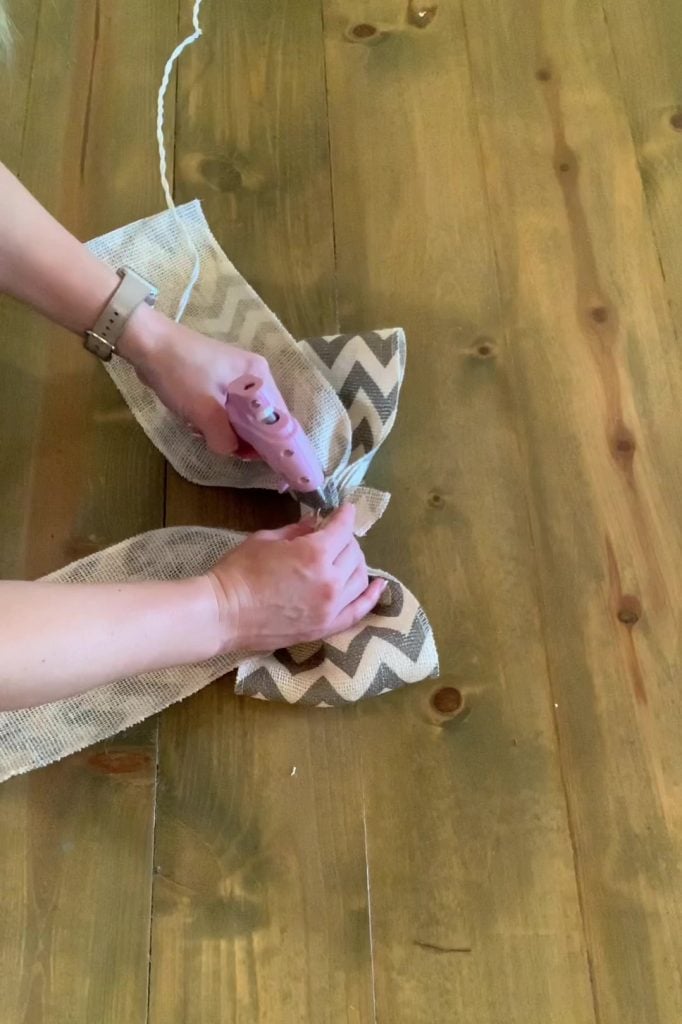
- Place your pinched area of the bow down on the 1″ piece, and wrap the small piece around the center of your bow however tight you would like.
- Once you have the small piece secure to your liking, secure the end of the small piece with hot glue.
- Flip your bow over and fluff and adjust as you need.



5. Attach the bow
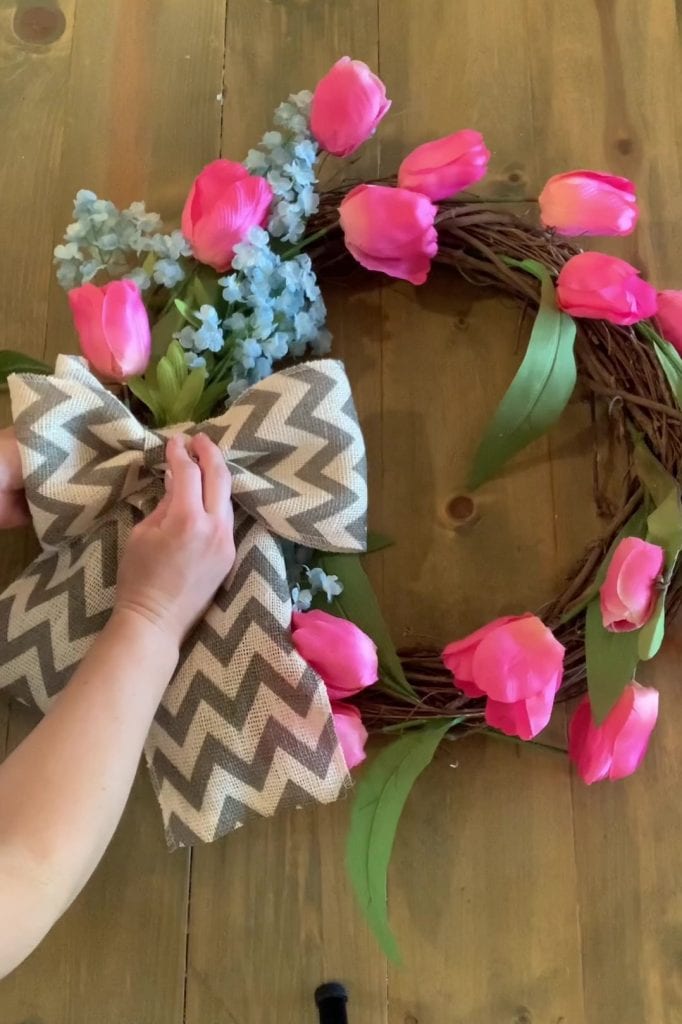
Grab your wire, pipe cleaners, twine or whatever you have that you can attach the bow with. I attached 2 pipe cleaners together because it is what I could fine quickest and it worked fine! Run your “wire” through the back of your bow at the part where you have it cinched in the middle. Then, place your bow in the space you created between your blue flowers on the left side of your wreath. Find a spot that you feel works best. You can adjust the flowers as you need! Run the wire around the wreath and secure in the back.
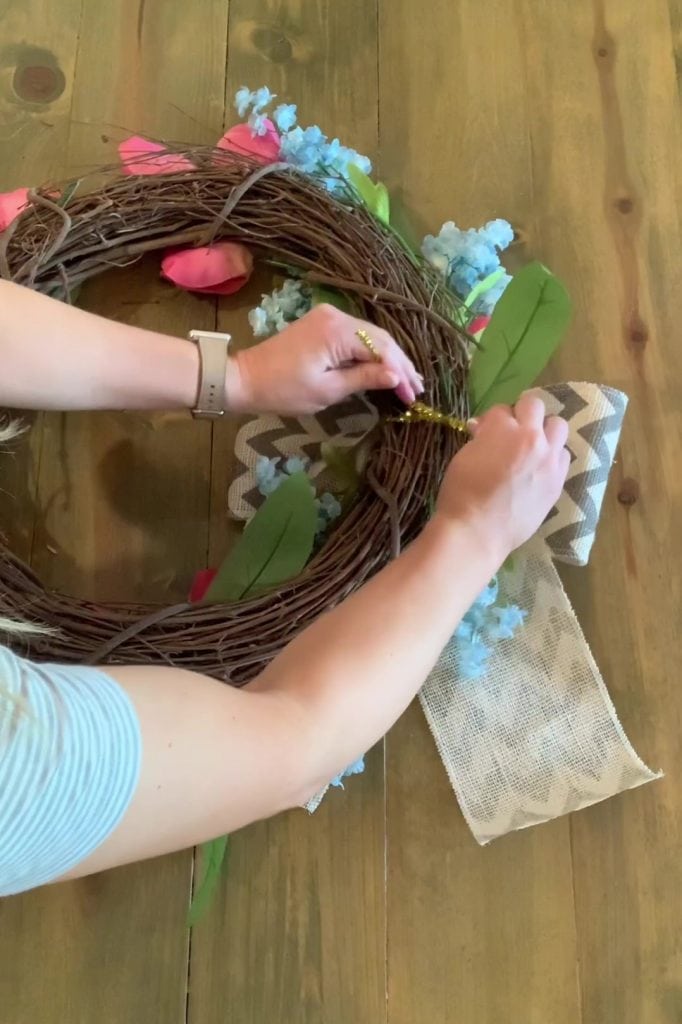
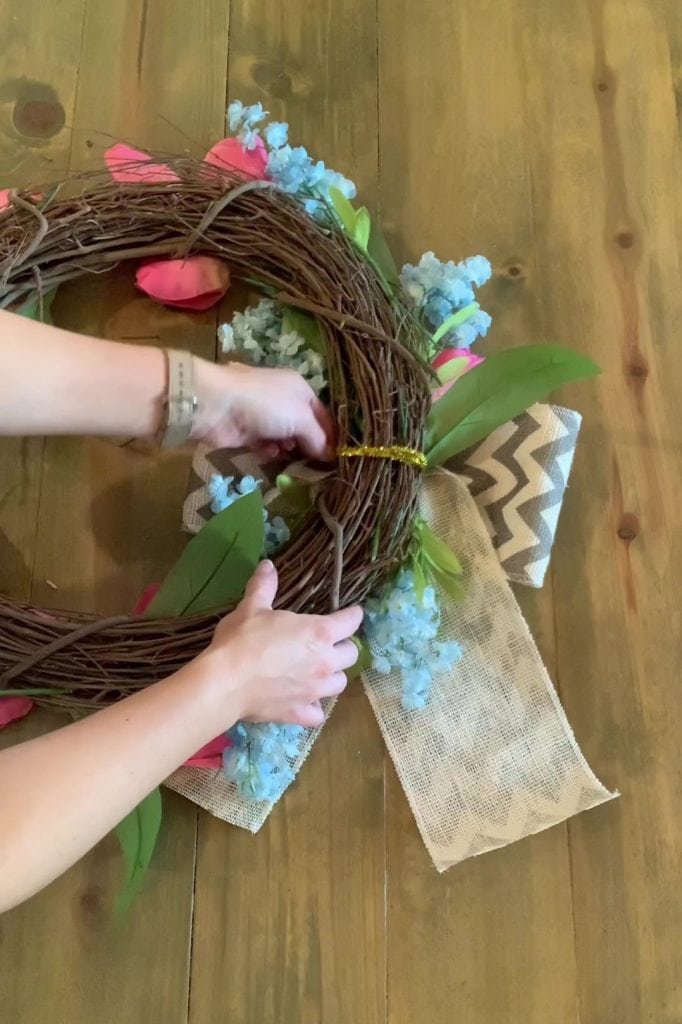
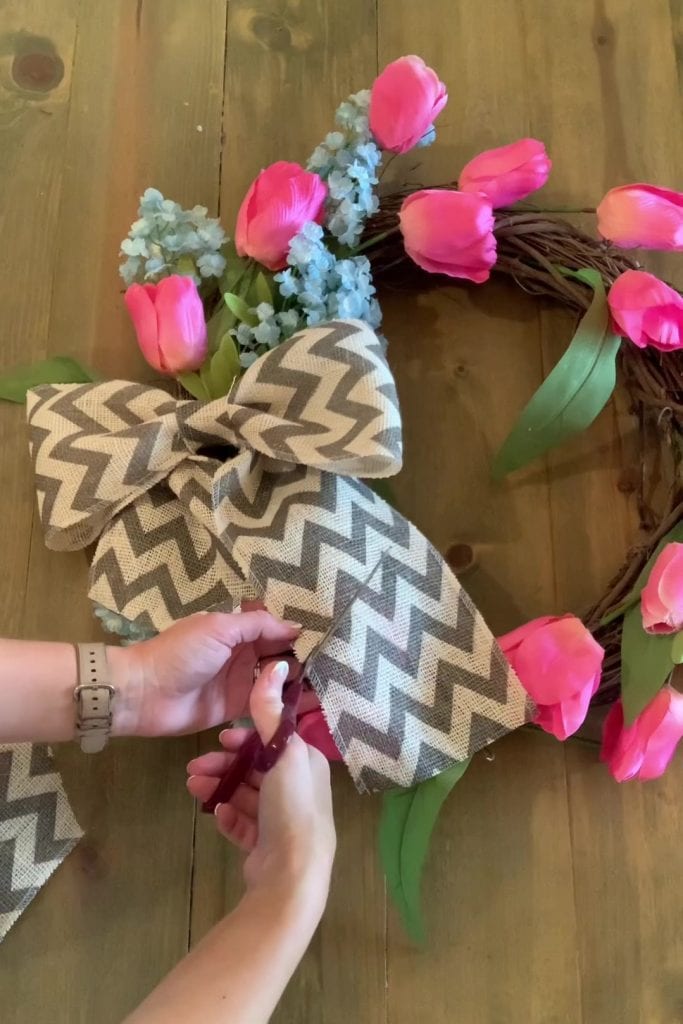
6. Adjust, fluff and cut your bow ribbon
Turn your wreath over and adjust and fluff as needed. Also, if you need to adjust any placement of flowers, you can slide them out and re-adjust them to where you feel looks best. Once you have it as you like, determine the length you would like for your pieces of ribbon that hang down from your bow and cut each piece on an angle. There is no right length to this as I think it is a personal preference. Some may like it shorter, and some like to leave some length. I just “eye-balled” it, but I would say mine are probably around 6 inches long.

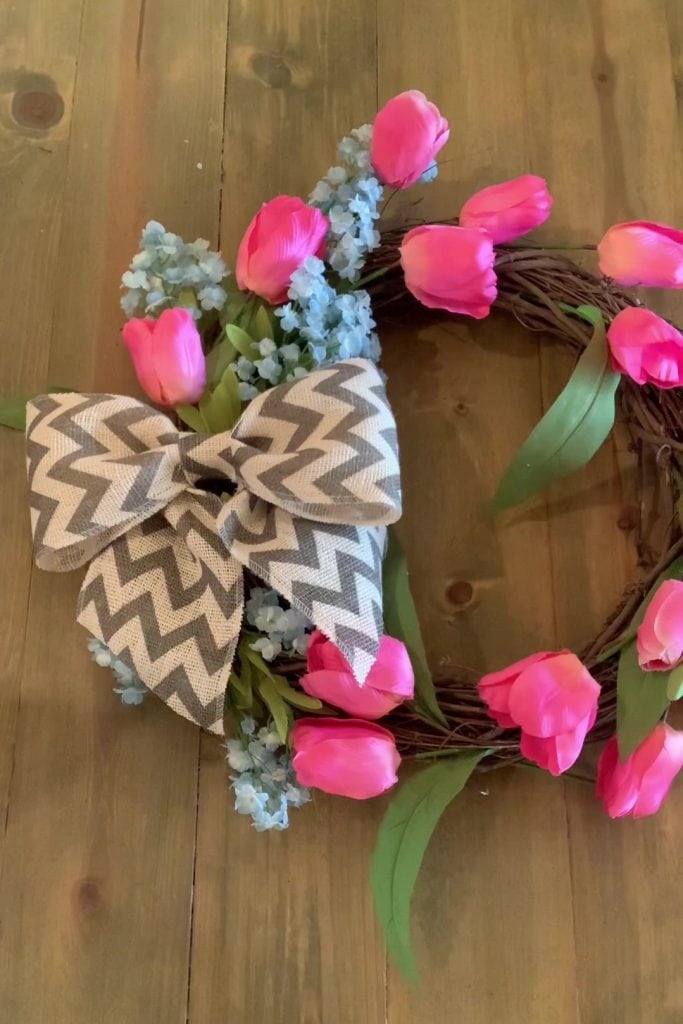
There you have it! A really easy outdoor spring wreath that you can do in a short amount of time and with little supplies. Share below how yours turns out!

